This project started with a pattern design idea based on tilings, which I’ve been fascinated by since forever. The idea turned out to work pretty well and generated some patterns suitable for printing on fabric.
The basic idea
In case you didn’t know, a tiling is a set of one or more geometrical shapes filling a plane with no gaps. In other words, a tiling describes how to densely pack tiles of certain shapes. This means that if you draw an object inside each tile, and the object has roughly the same shape as the tile, you get a visually pleasing, dense-ish distribution of whatever objects you are drawing.
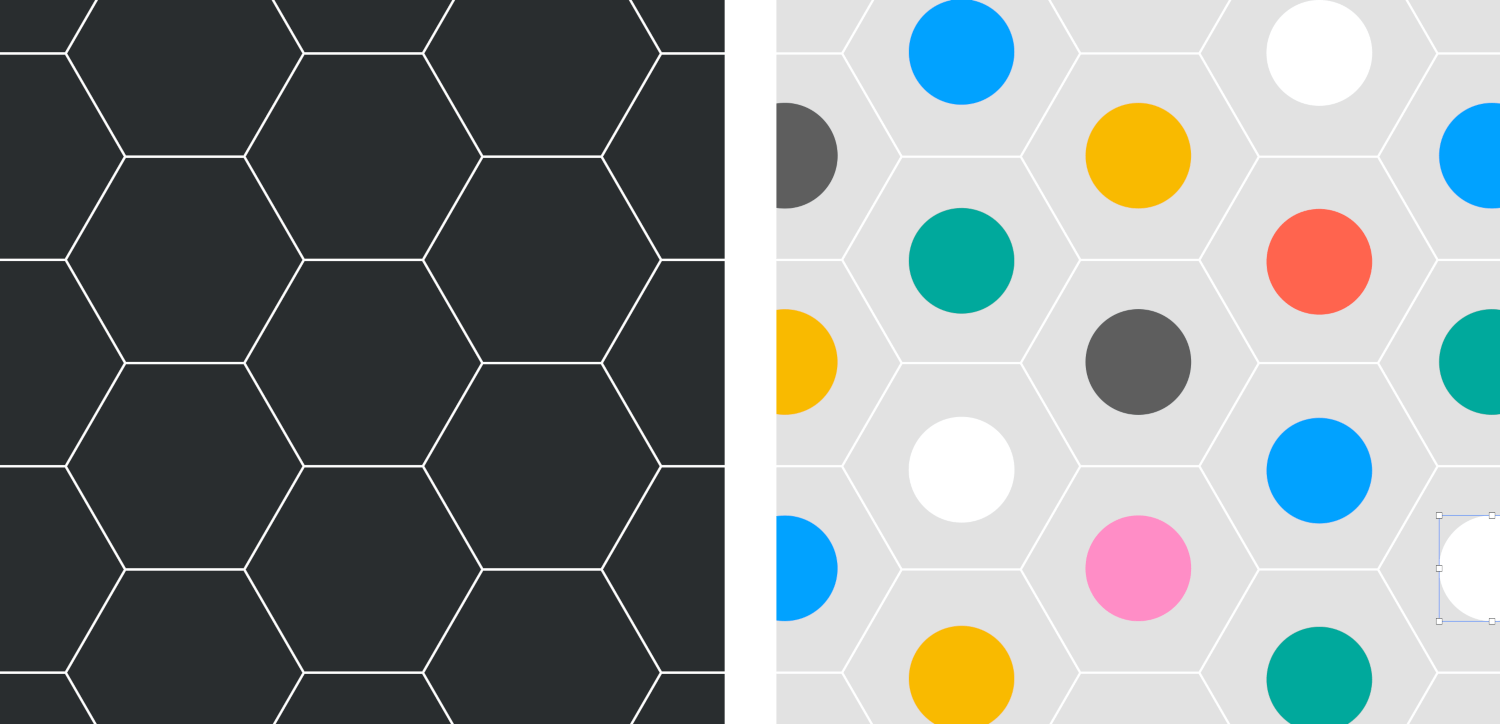
Evenly distributing circles using a simple hexagonal tiling.
My idea was to apply this method using more exotic tilings to see if I could come up with interesting patterns. As usual, I approached the problem by writing some code - both for generating tilings and for drawing stuff inside the tiles. In order to quickly explore the visual possibilities, I put together a user interface that let me tweak various parameters and see the pattern change in real time.
Generating a tiling
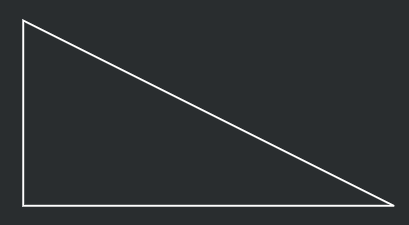
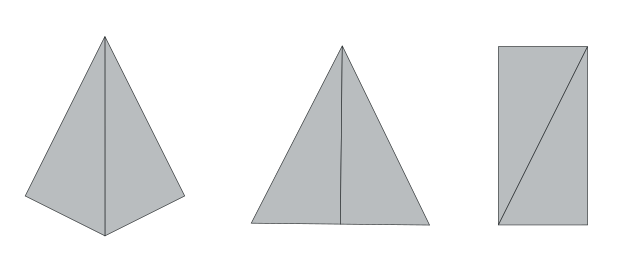
I knew from the start that I wanted something more interesting than the simple repeatable structures often seen in traditional pattern design, so I started looking into substitution tilings1. They are made by repeatedly replacing shapes with smaller copies of themselves. For this project, I decided to use the pinwheel tiling2, which is one of the better known substitution tilings. It has only one tile shape - a right triangle - which can be decomposed into five smaller copies of itself.
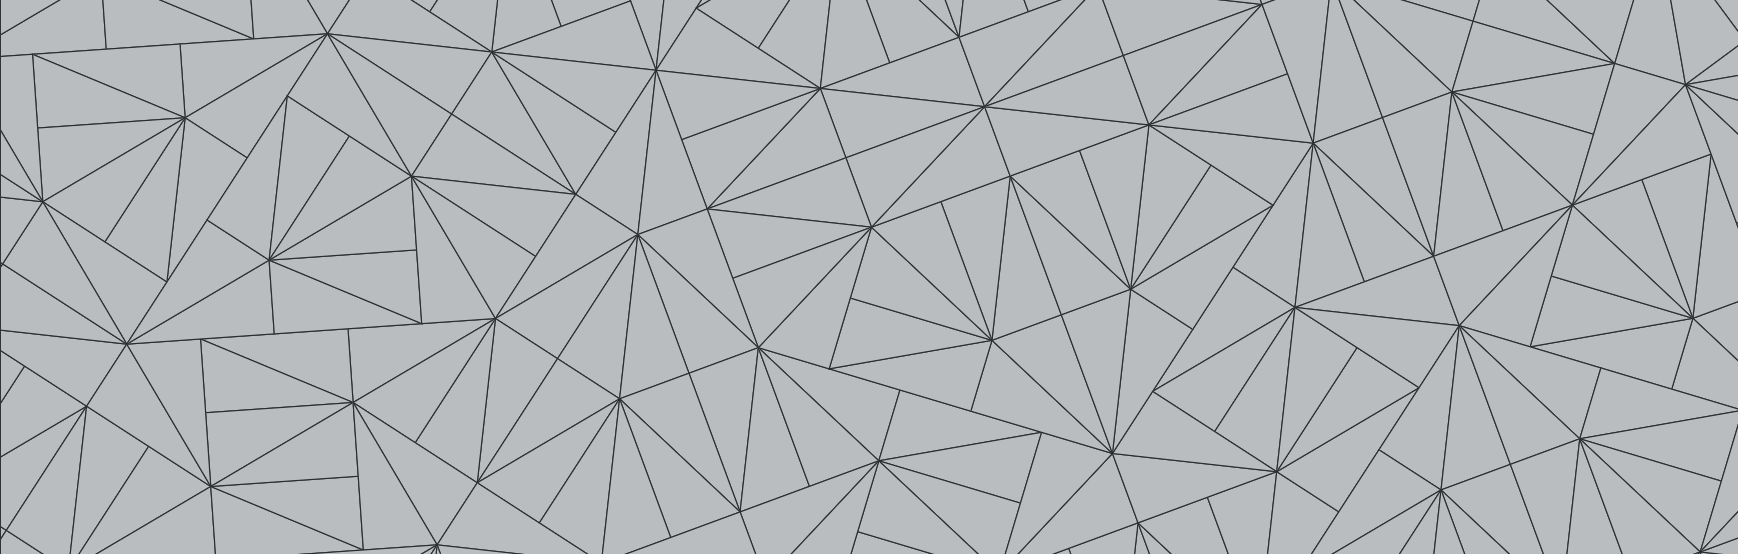
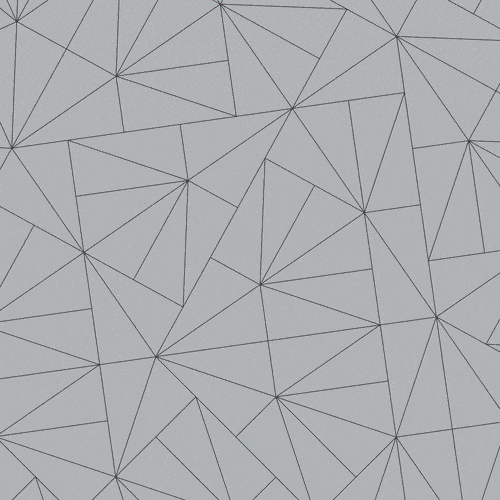
A pinwheel tiling
Generating a pinwheel tiling by repeatedly replacing right triangles
The pinwheel tiling has some cool properties. For example, it’s aperiodic - which means it never “repeats itself” - and the tiles show up in lots of different orientations. This gives the tiling a structured yet random look which would be hard to achieve by hand.
In a pinwheel tiling, all tiles are congruent right triangles, but since I wanted to be able to draw objects of more than one shape, I needed a tiling with more than one tile shape. To create such a tiling, I implemented an algorithm for merging pairs of adjacent tiles. After staring at a pinwheel tiling for a while, I identified three types of neighbor pairs that would give me the extra shapes I wanted.
The merging algorithm recognizes these three neigbor pair types.
The merging algorithm looks for neighbor pairs of the types described above and merges each pair it found with a certain probability. By changing the merging probability for each pair type, I could control the amount of tiles of different shapes.
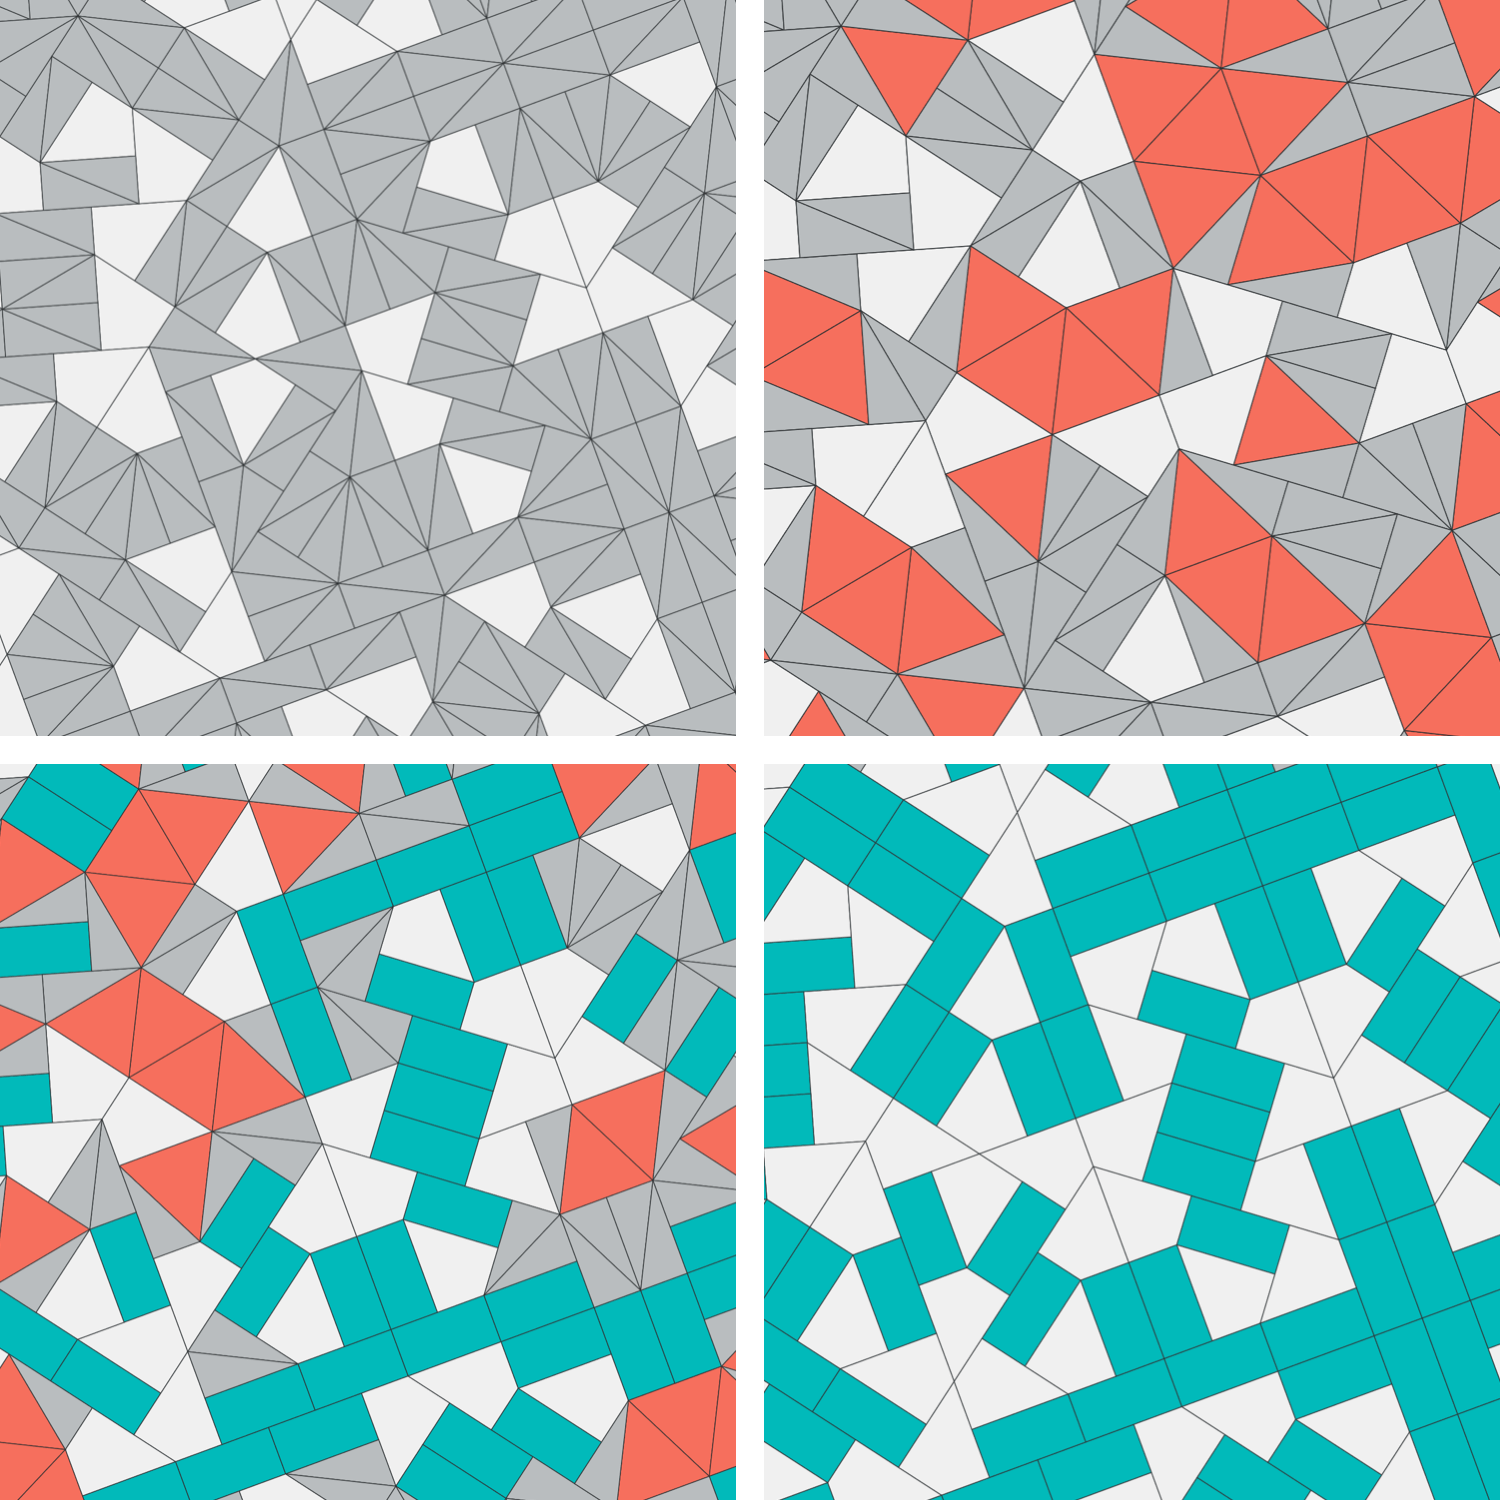
Four tilings generated by merging different neighbor pair types with different probabilities.
Drawing something in the tiles
Having decieded on a tiling, I knew what the possible tile shapes were and could finally start drawing stuff! All drawing was done in code based on a set of parameters that I could control in real time. Once set up, this was a really nice and immediate workflow, combining the fun of live coding and interactive parametric exploration.
Parametric control FTW!
Two cleaner variations
Astute readers may have noticed that the patterns shown in this post only use up to two tile shapes, whereas the example tilings in the previous section contain up to four. This is because I have just started exploring the possibilities and haven’t looked into designs with more than two tile shapes at the time of writing.
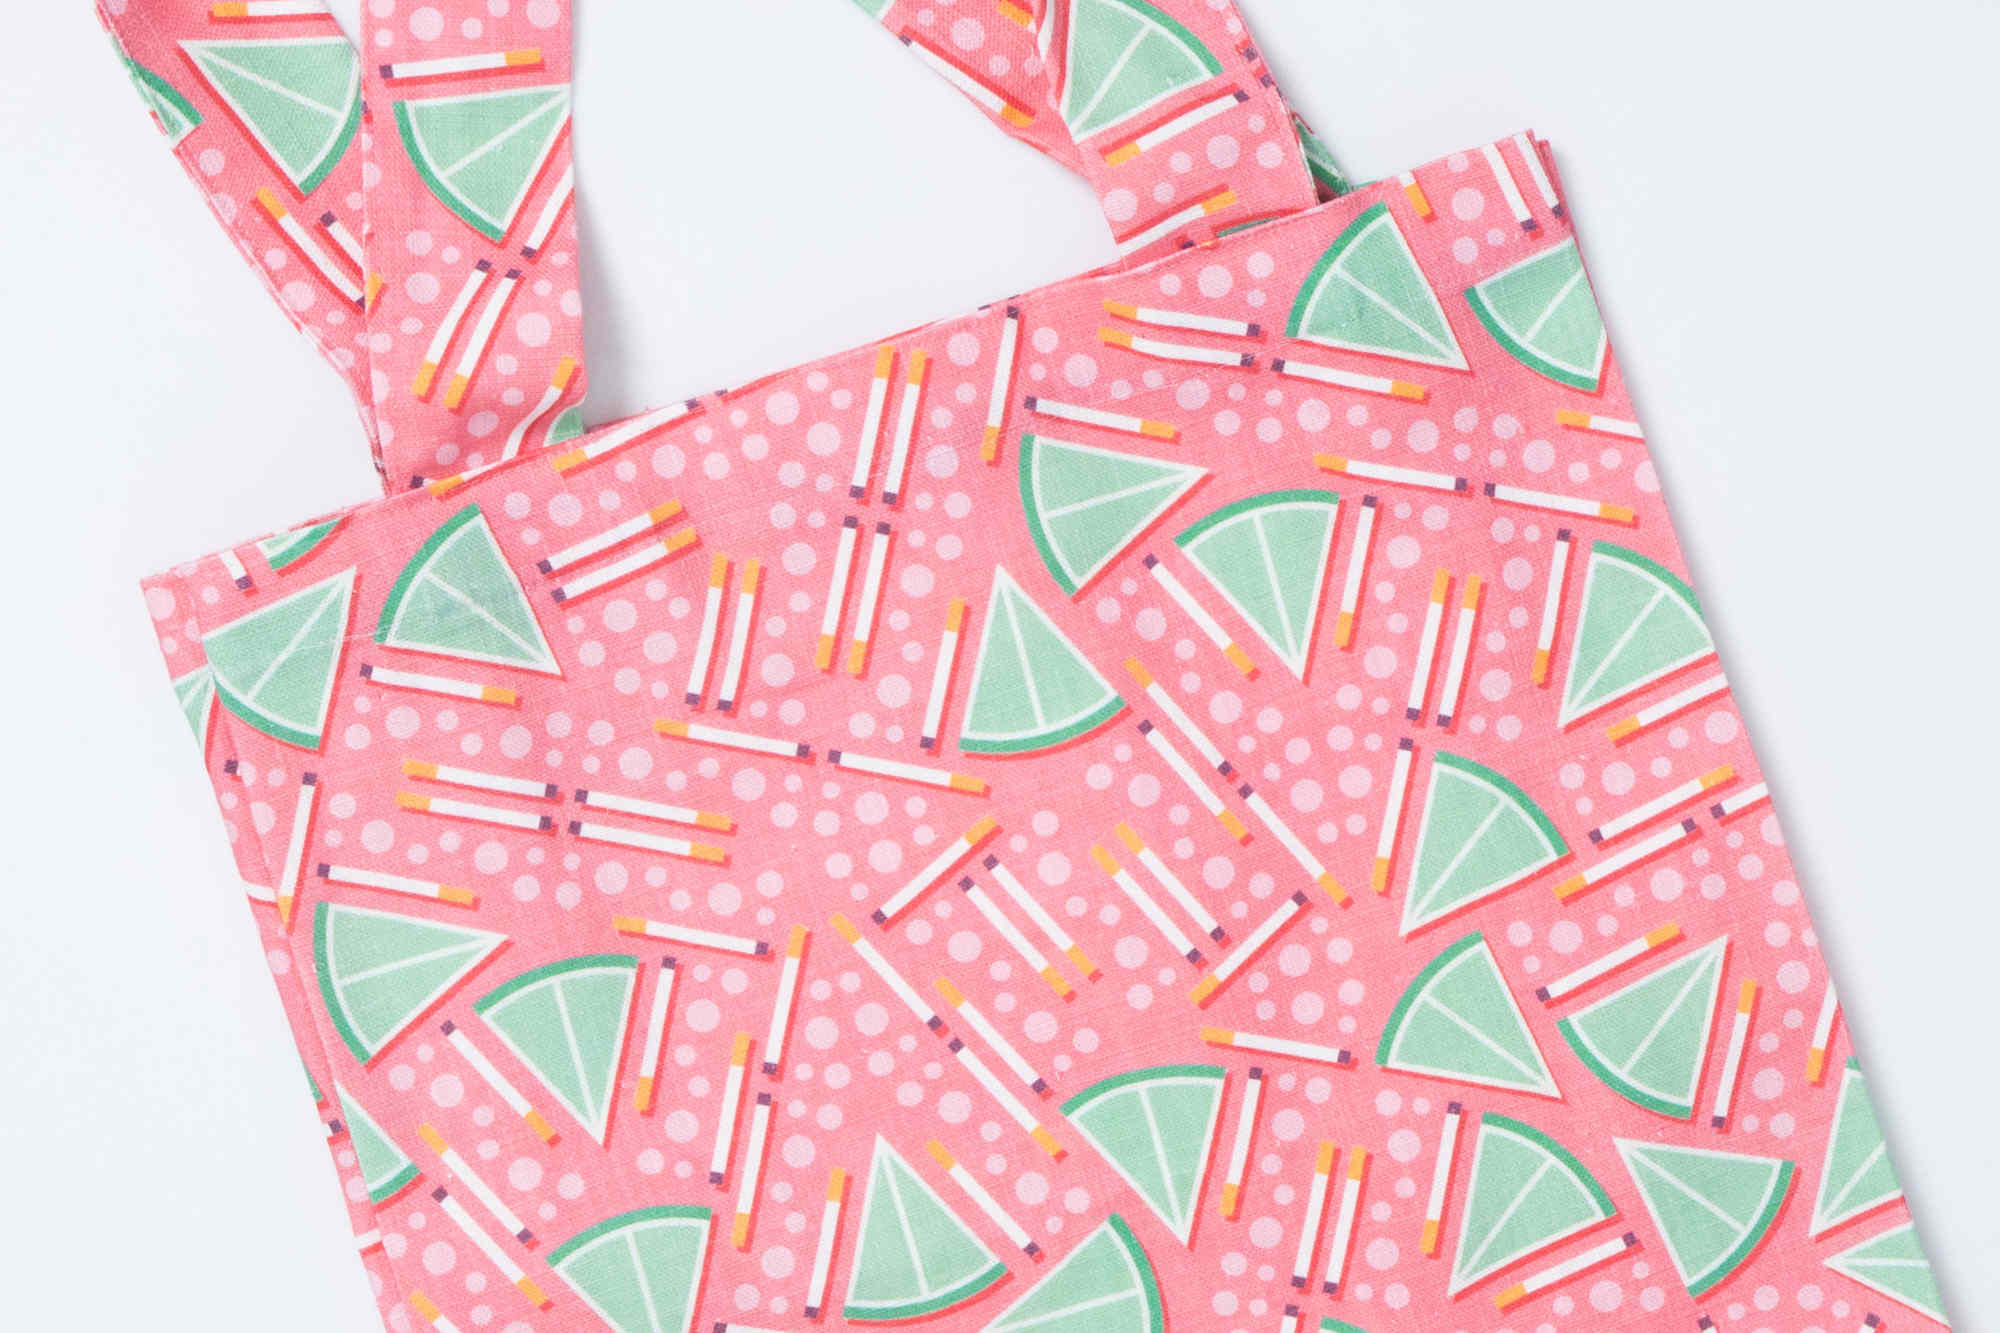
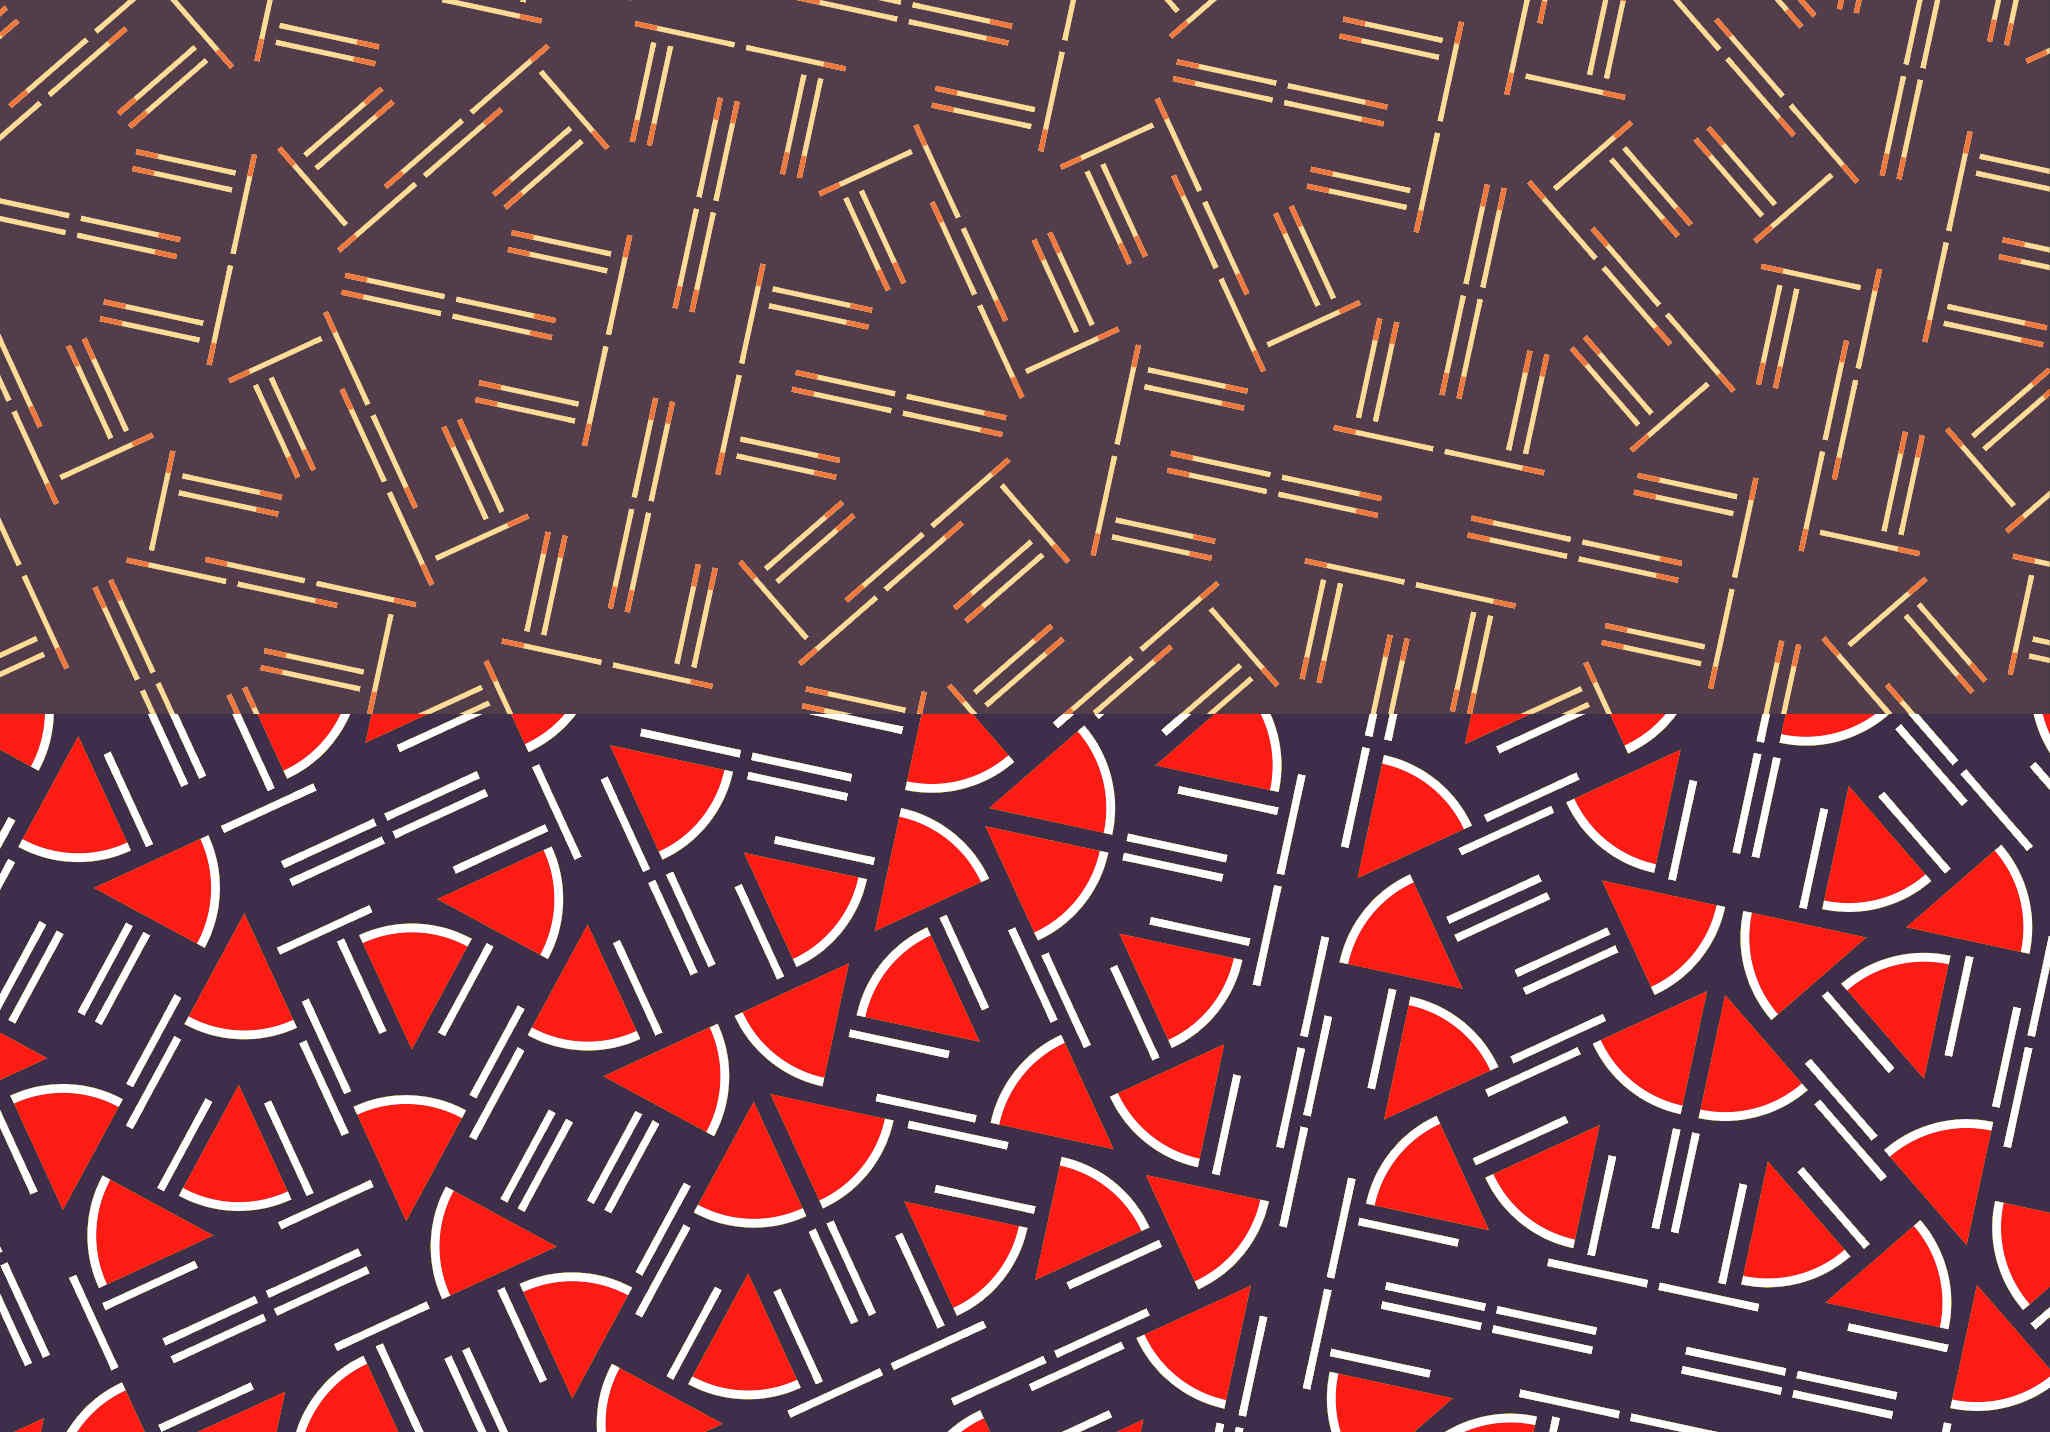
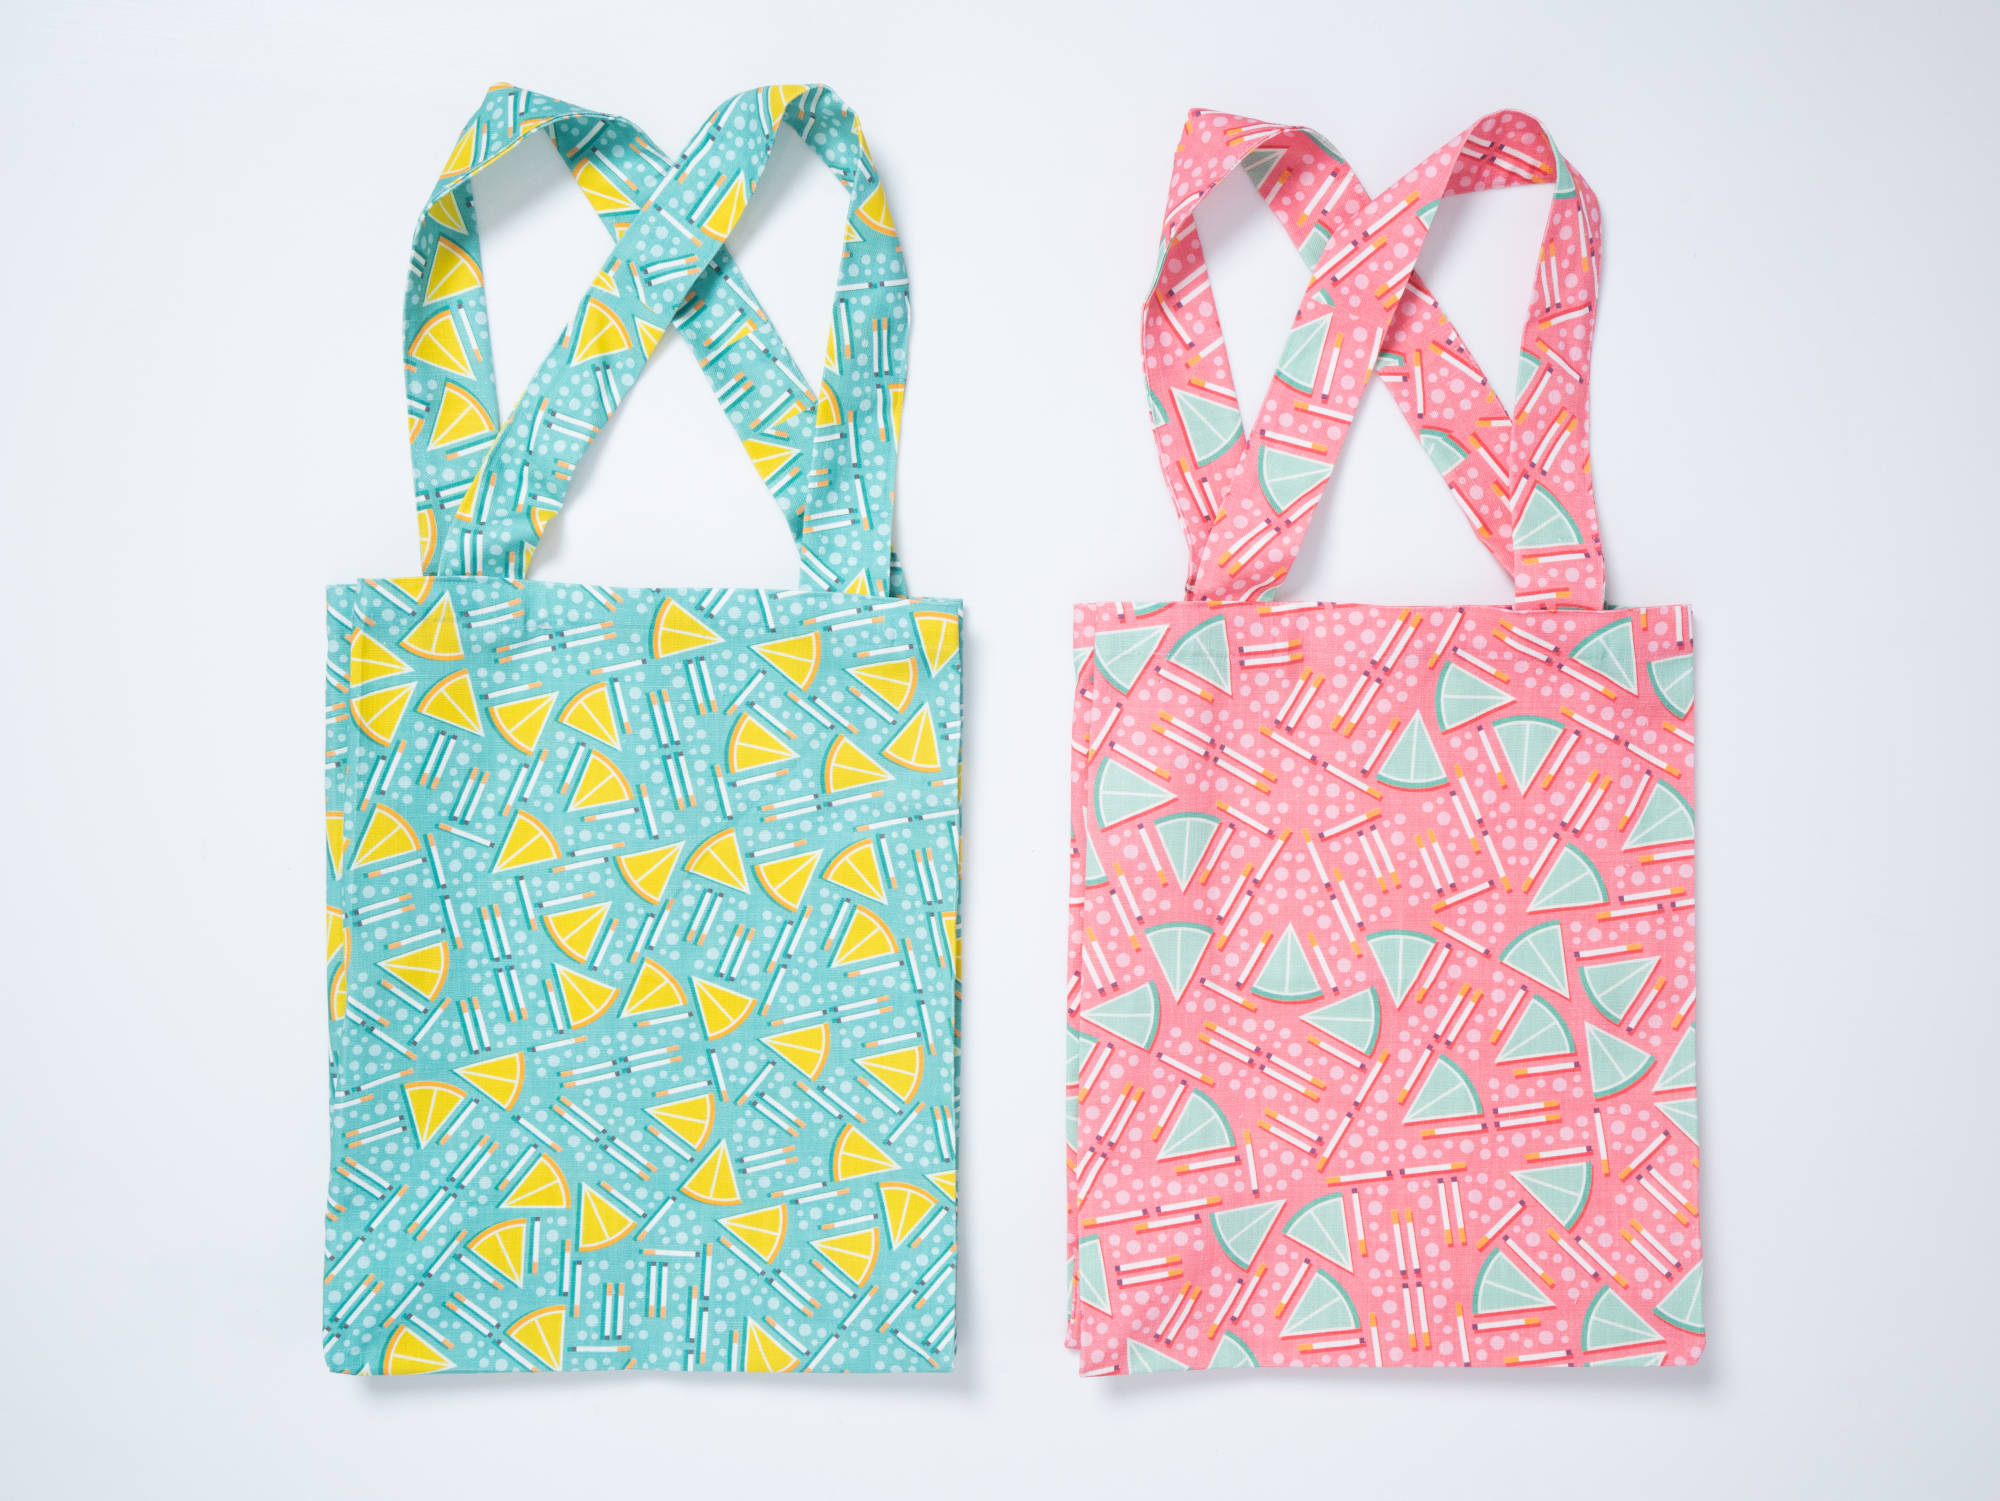
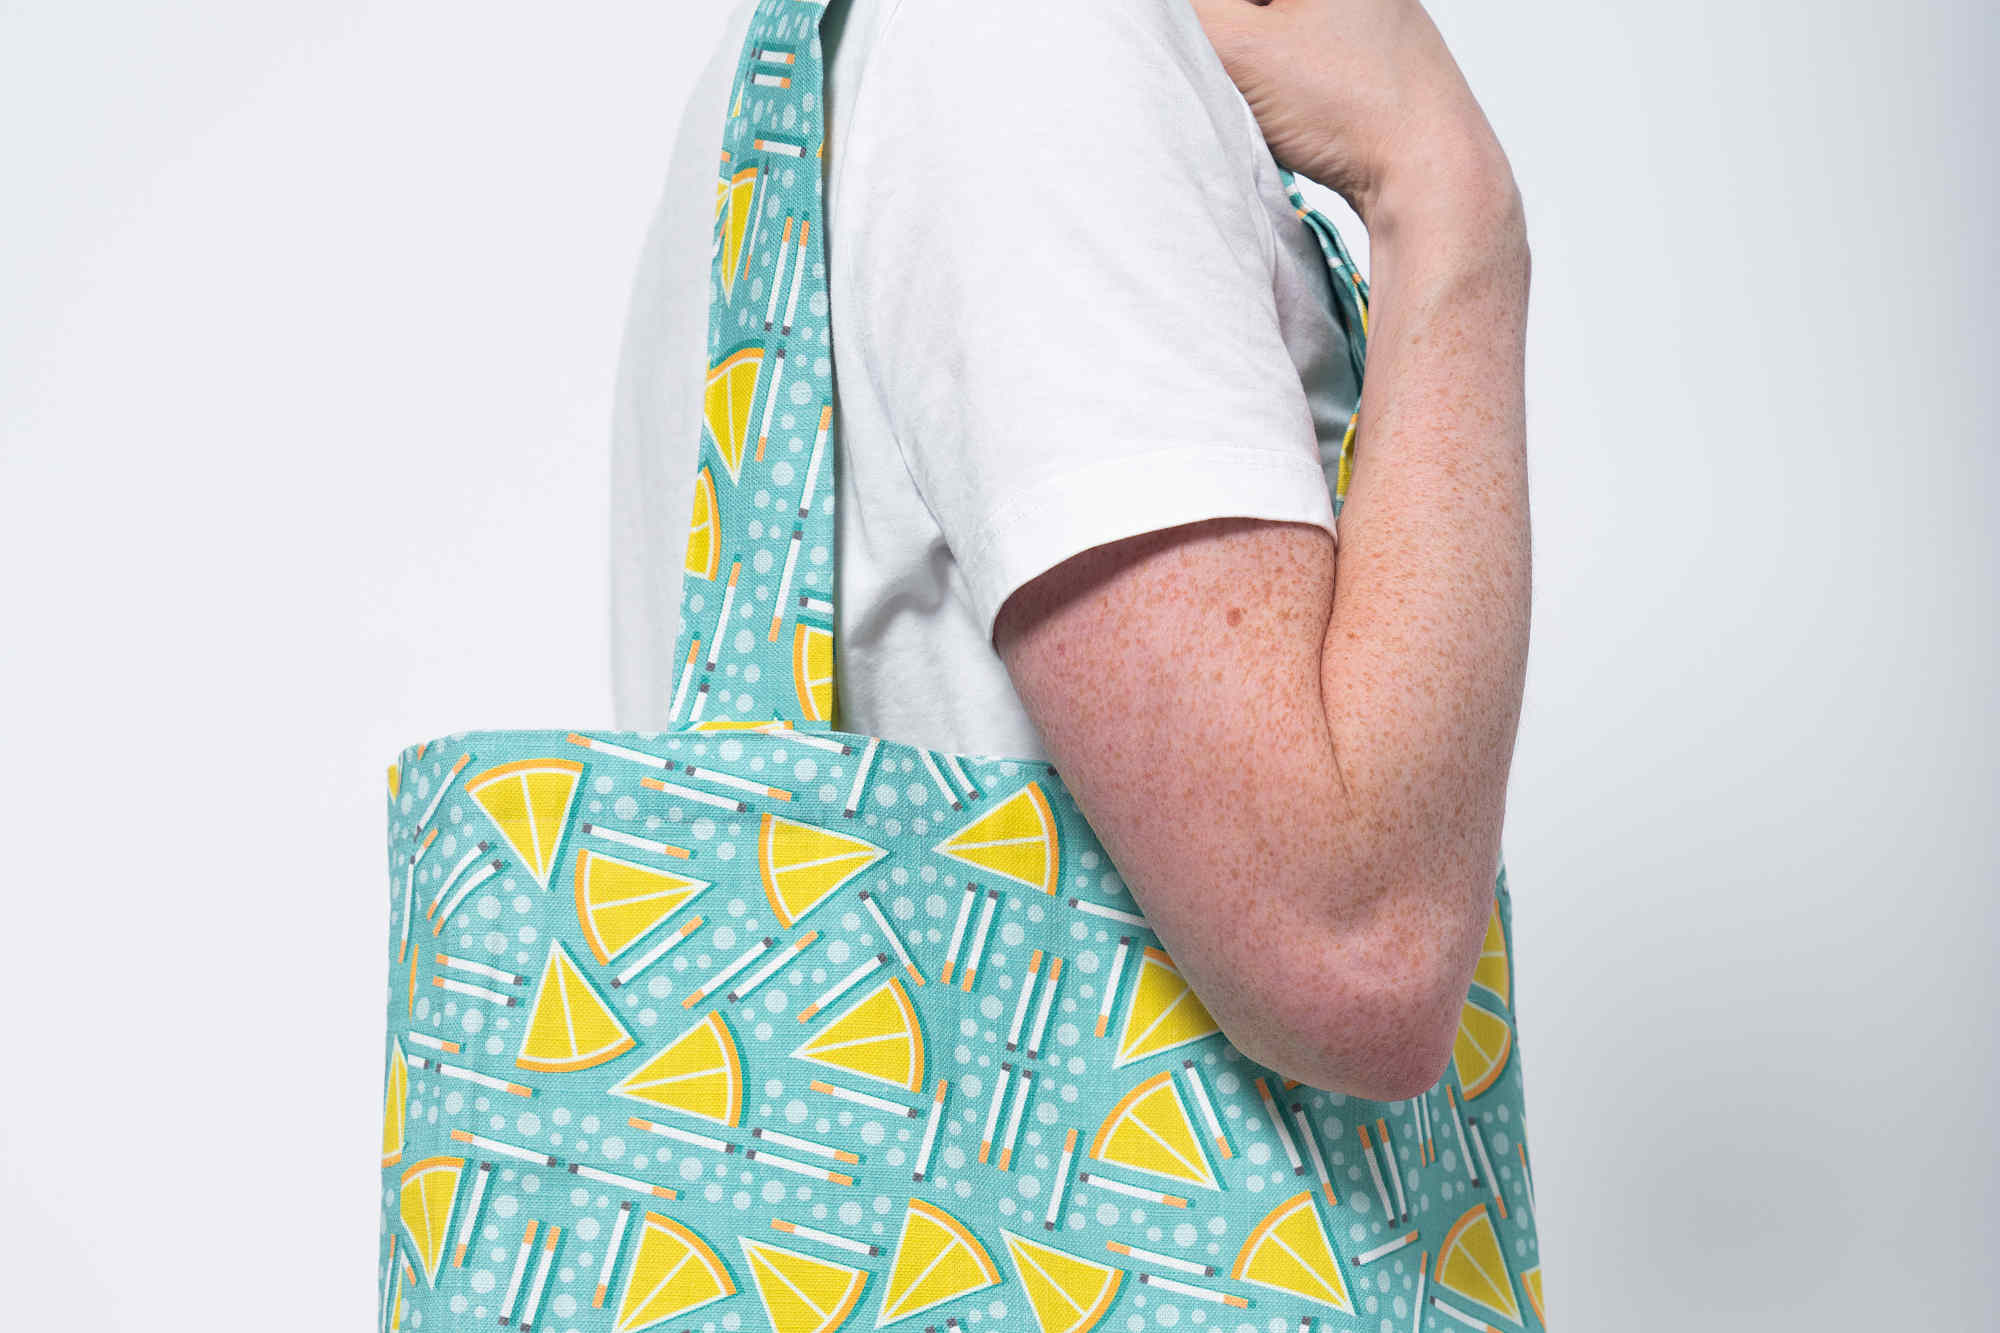
Printing
As I kept experimenting, it became increasingly clear that this type of patterns would work well as textile prints. Since it’s easy and relatively cheap to order small quantities of custom printed fabric on the interwebs, I took the opportunity to get my feet wet in textile printing, starting by making some test prints on a few different materials to get a feel for the color reproduction. The final result can be seen below.
Conclusions
One limitation of this kind of code driven design process is that drawing things can get a lot more akward than in traditional tools like Photoshop or Illustrator. The simple objects for this project weren’t too hard to draw, but a lot of more complex styles are probably not feasible to achieve. On the other hand, using a traditional tool to manually distribute objects based on an intricate tiling is probably not feasible either. Of course, automatically distributing manually drawn objects is also an option, but not something I have had the time to explore yet.
All in all, I think this has been a promising experiment and I feel like I’ve just started to scratch the surface of the creative possibilities.