If you like circles, spheres and shapes that fit nicely together, you’ll probably like spherical circle packings. In this post, I’ll describe how I turned one into a lamp.
A circle packing is an arrangement of circles that fit tightly together, so that no circle can be enlarged without causing overlaps. Circle packing is a nice mathematical rabbit hole1, but this post focuses on Steiner chains, which is the type of packing I used for building the lamp (more pictures of which can be found here).
Steiner chains
A Steiner chain2 is constructed by surrounding a circle with a ring of additional circles that are all also tangent to a larger circle. In other words, a Steiner chain consists of circles packed in a circle (a concept I’ve previously explored in this project).

A simple Steiner chain with a center circle surrounded by a ring of 9 smaller circles, all tangent to the bounding circle (dashed).
The fact that a Steiner chain fits tightly in a circle can be used to construct nested packings by repeatedly replacing the center circle with a smaller Steiner chain. Here’s an animation illustrating the idea.
Nesting Steiner chains.
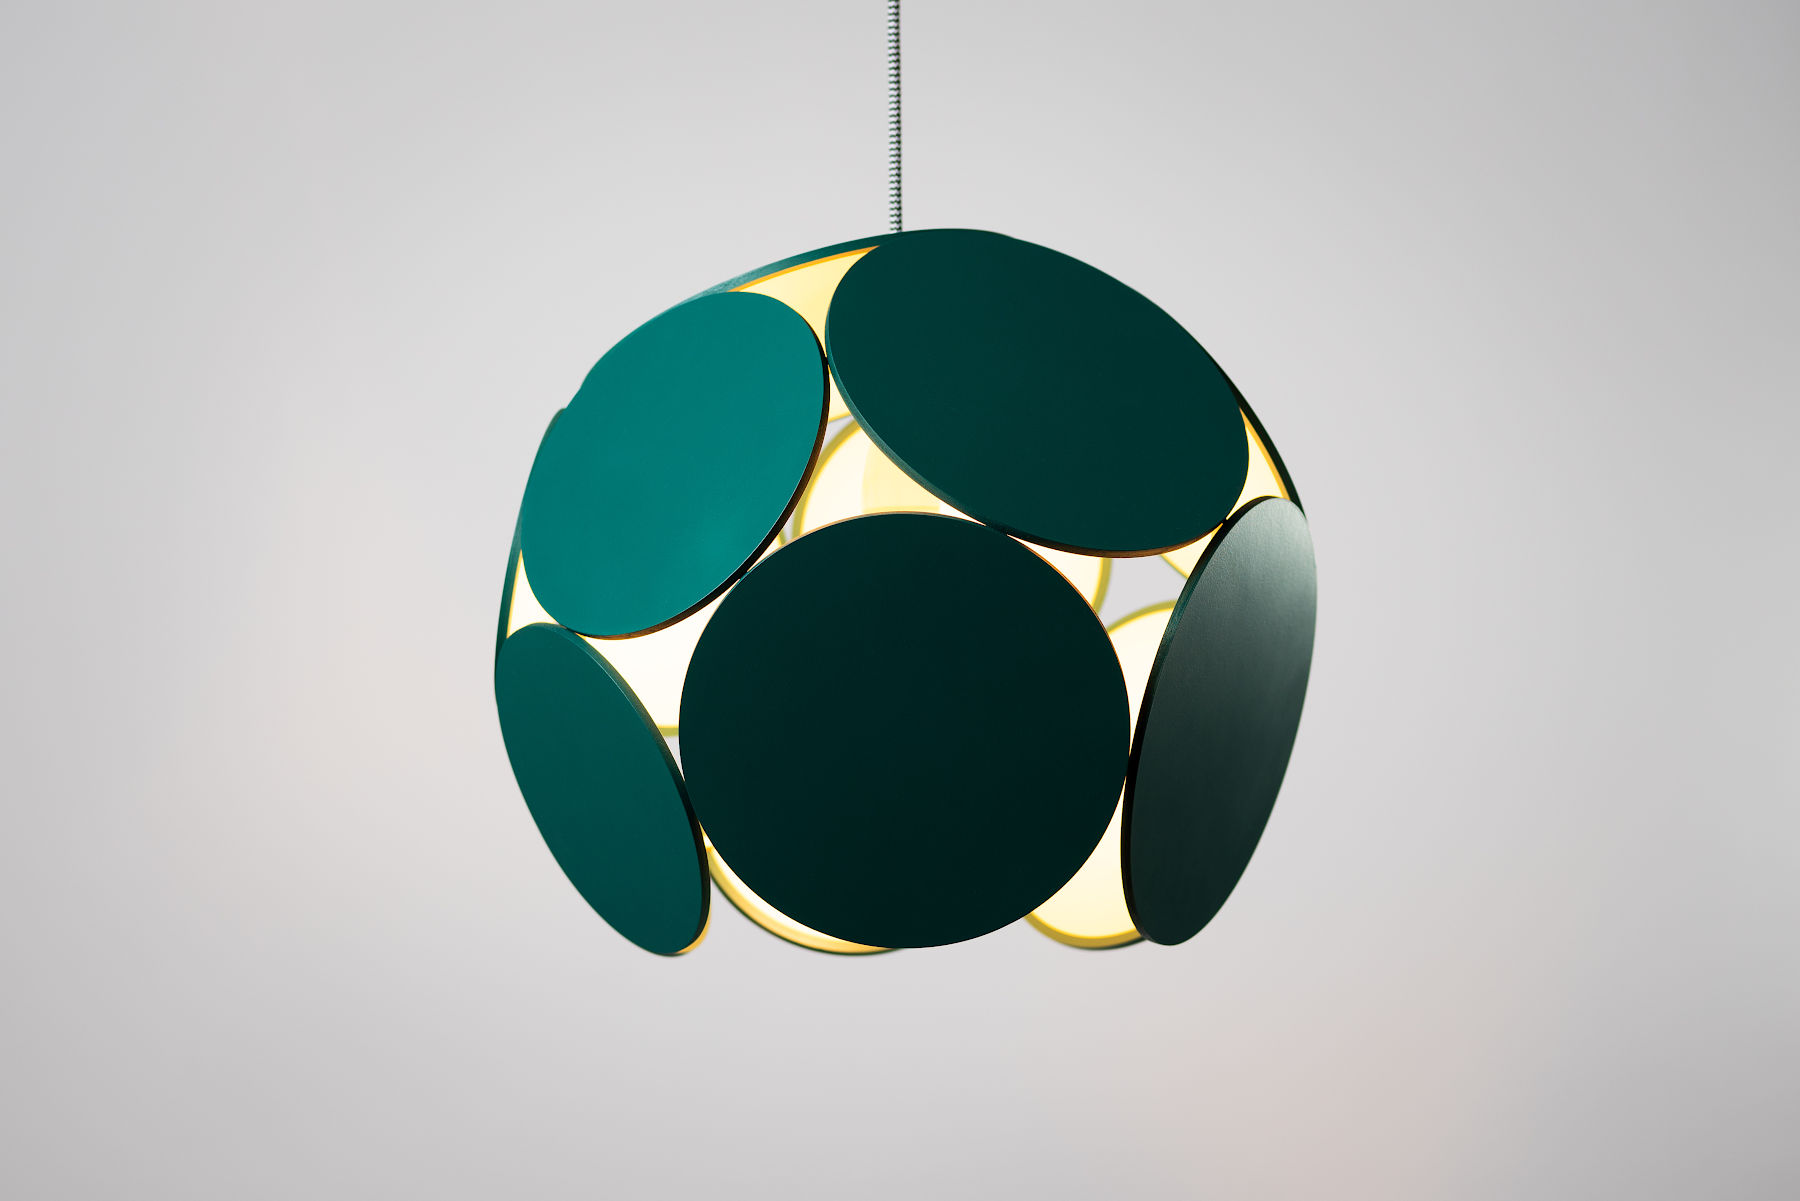
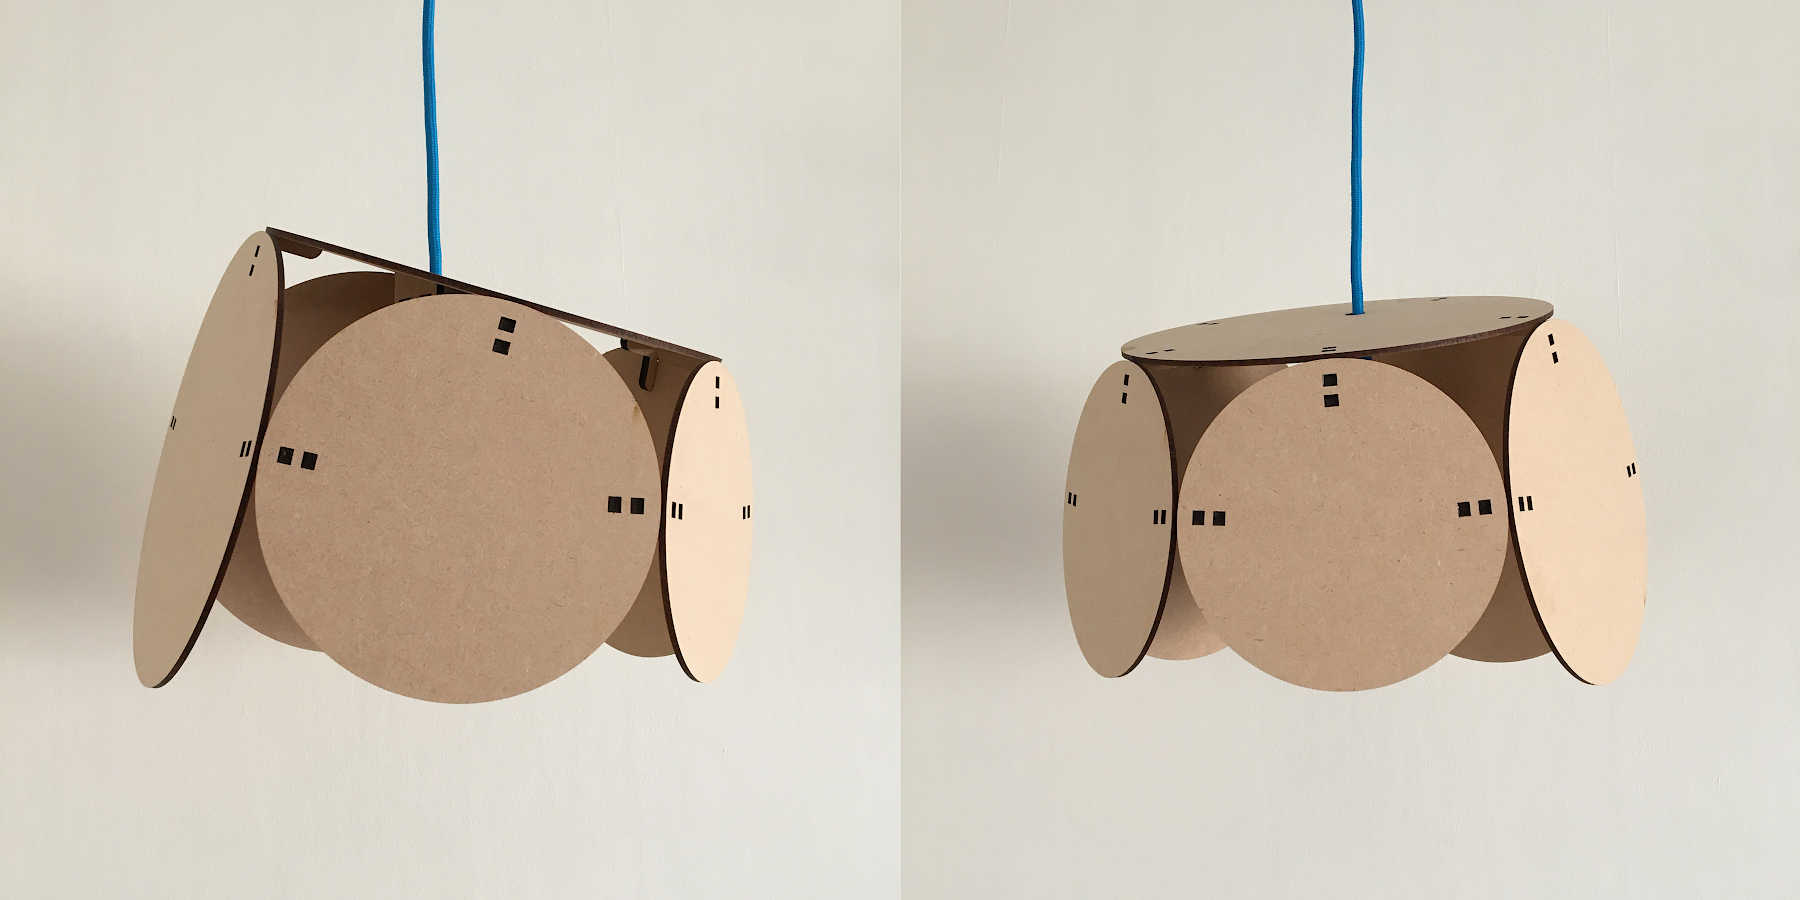
The lamp is built from a total of 13 circles, forming a nested Steiner chain with two rings, each containing 6 circles.
Deforming a circle packing
It’s intuitively clear that a circle packing can’t be arbitrarily deformed without “ruining” it. For example, stretching a packing in one direction turns the circles into ellipses. Luckily, there is a class of circle preserving planar deformations, so called Möbius transformations3, that can be used to parametrically control the shape of a circle packing. This is really useful for parametric design purposes.
Möbius transformations applied to a circle packing.
Going spherical
The Möbius transformations described in the previous section turn out to be the only options for transforming a circle packing in the plane. However, if we venture into three dimensional space, there is another option: inverse stereographic projection4. Loosely speaking, this transformation can be used to wrap a circle packing around a sphere.
For this project, I put together a parametric design tool to explore interesting spherical circle packings. This tool generates packings in three steps:
- Create a nested Steiner chain
- Apply a Möbius transformation
- Wrap the packing around a sphere using inverse stereographic projection
Here’s an animation showing the tool in action.

Parametric exploration of spherical circle packings. The red dot indicates the circle packing's center of mass.
Generating the blueprint
The previous sections outline a method for creating nice spherical circle packings. In order to create physical objects from these packings, I wrote some code for procedural generation of laser cutter blueprints. One cruical thing to keep in mind when making a pendant lamp is the center of mass. To ensure the lamp is hanging properly, the center of mass and the wire hole need to lie on the same vertical line. The center of mass calculation is simplified by the fact that it only has to deal with circles (the contribution from the joints is negligible).
An example of how changes in circle packing parameters affect the blueprint. Note how the wire hole (contained in a green rectangle) moves as the packing's center of mass changes.
A simple prototype for testing the strength of the joints and verifying the center of mass calculation.
Building the lamp
Once I had generated a blueprint and manufactured the parts, assembling the lamp went pretty smoothly. All circles, joints and joint holes were numbered so I would not have to think too much during assembly.
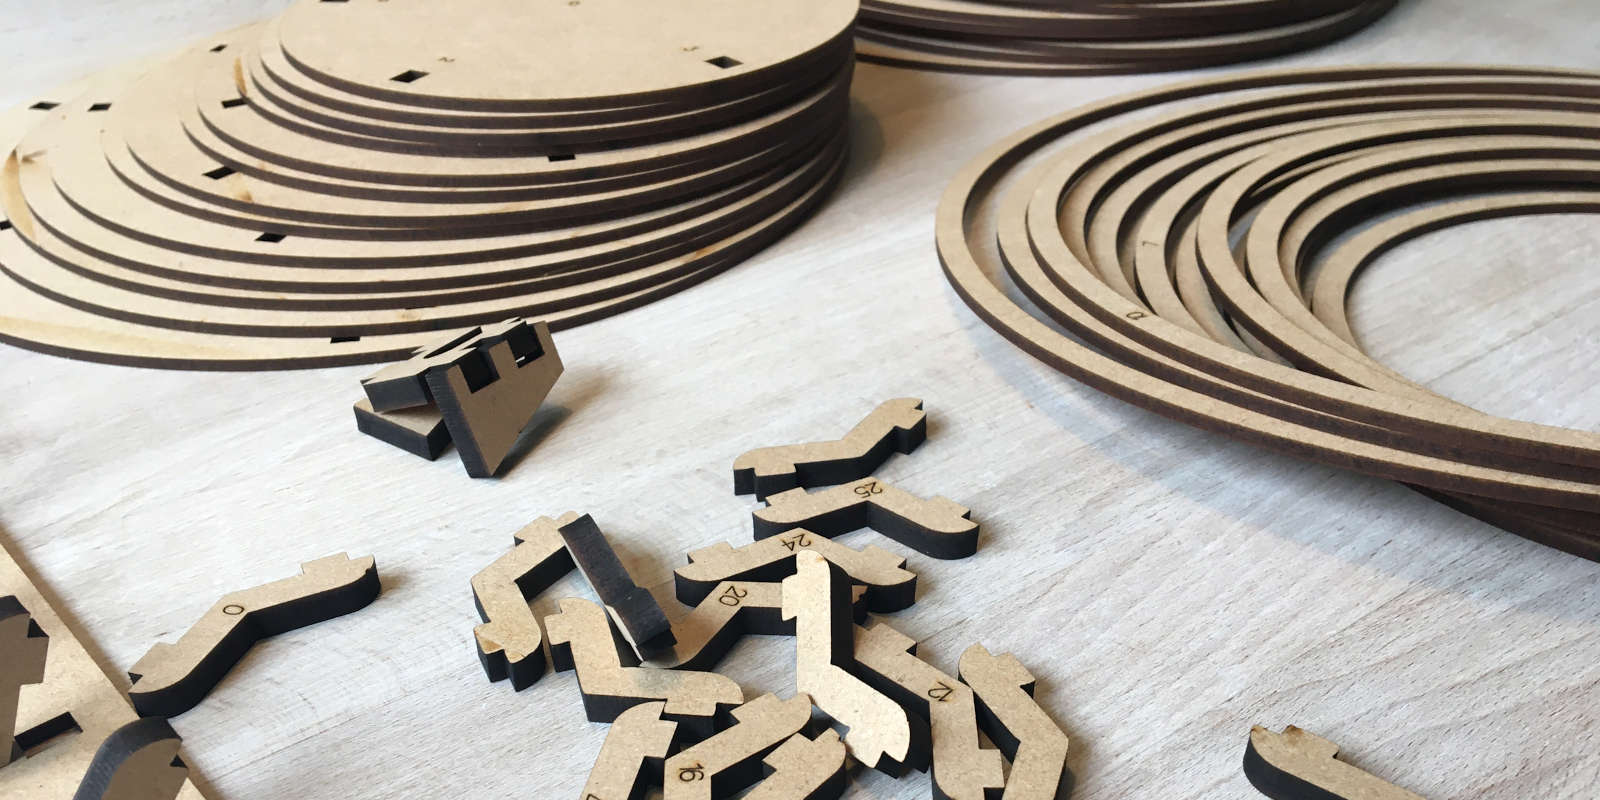
The laser cut MDF parts. No two parts are interchangeable, so they are all numbered to ensure smooth assembly.
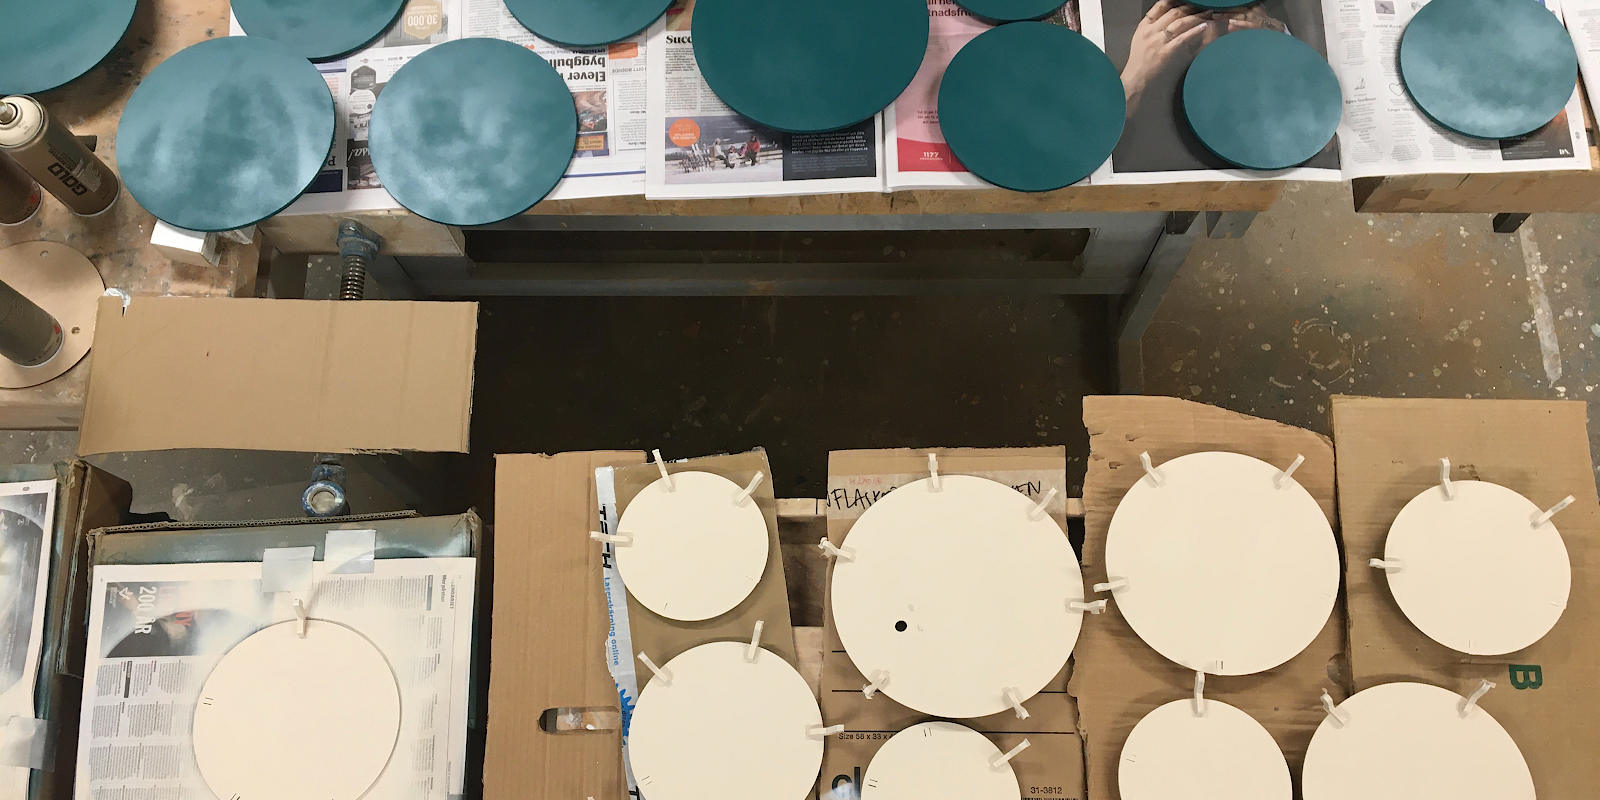
Spray painting the outward facing parts.
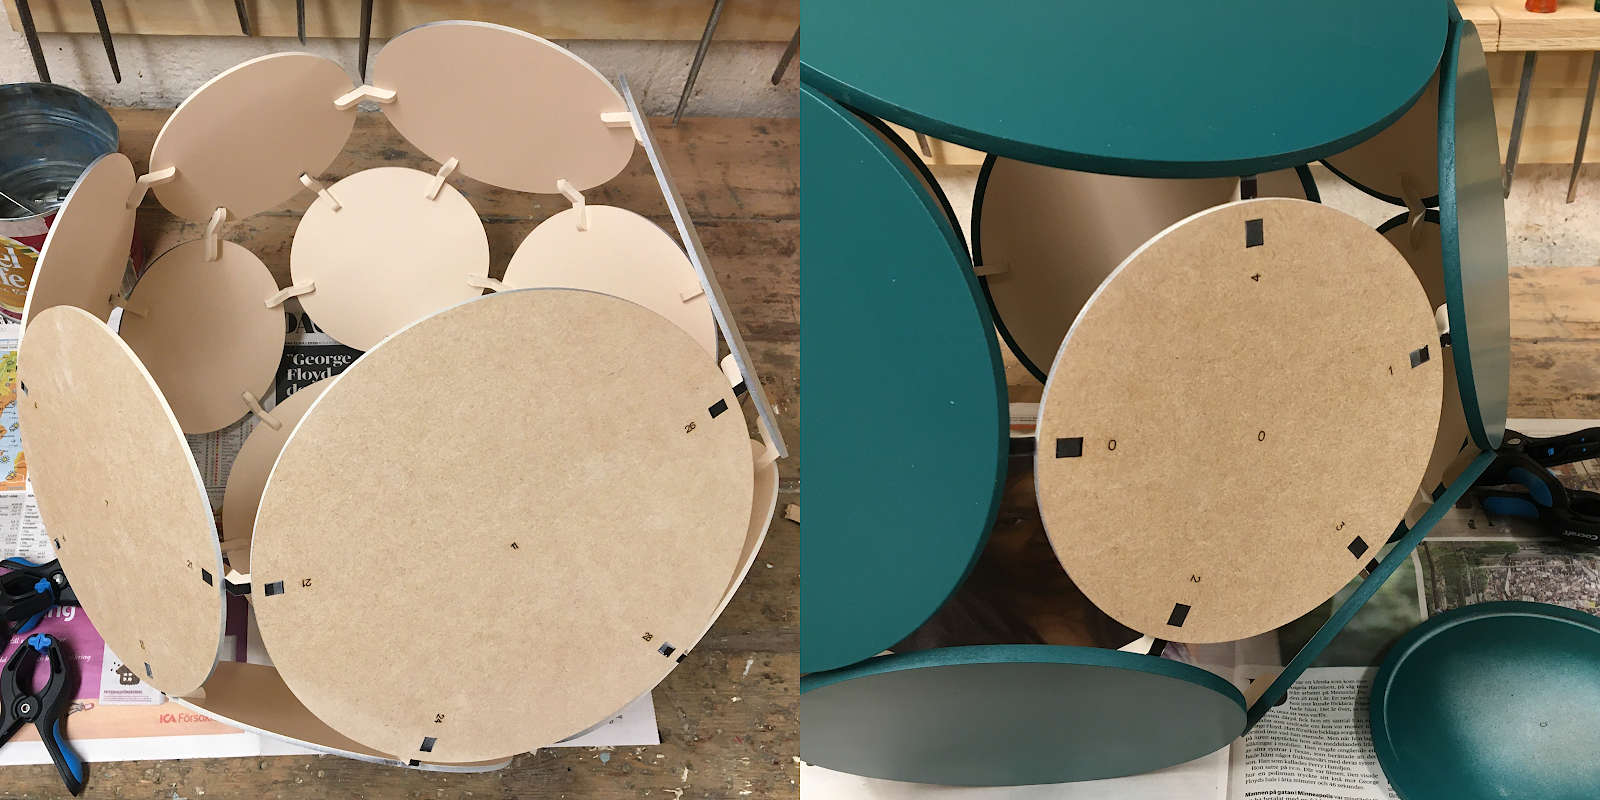
Assembling.
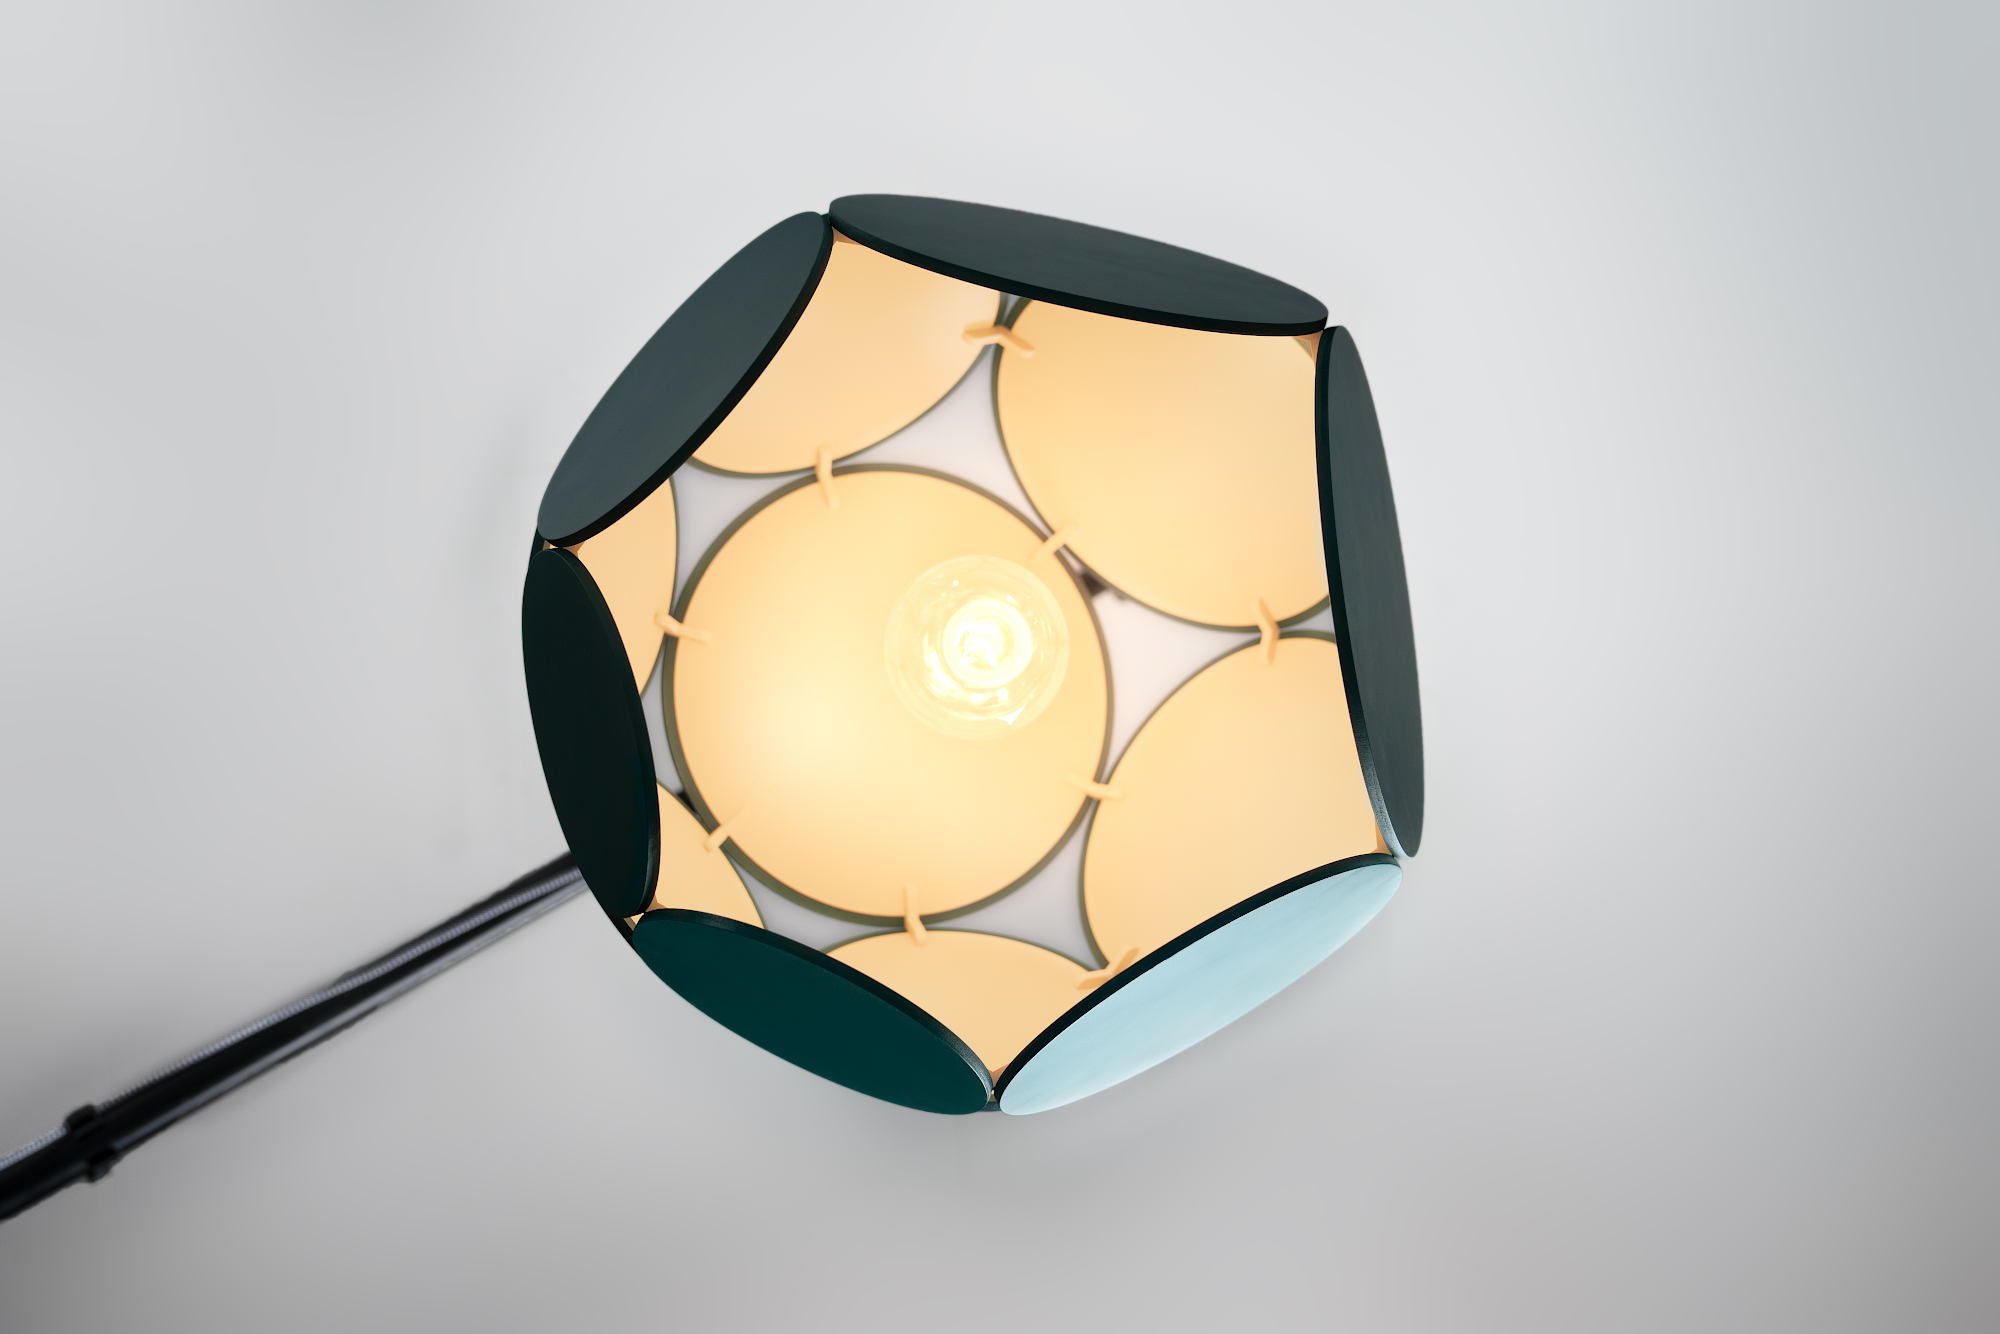
The final result seen from below.
Some more pictures of the lamp can be found here.